Buying a new-construction home is an exciting journey that can involve some eager anticipation, depending on where it is in the construction process when you select your home. Once your new home is complete, before you can officially call it your own, there’s one crucial step: the final walkthrough. This is your opportunity to ensure everything in your new home is up to standard before closing the deal. A thorough walkthrough helps you avoid potential headaches down the road by addressing issues early on. Our comprehensive checklist is designed to guide you through this process, ensuring that no detail is overlooked.
Come Prepared
- Pen & Paper for notes
- Camera
- Phone charger, for outlet receptacle tester
- Your downloaded PDF copy of our checklist
- 1 hour of your time
Exterior Inspection
- Foundation and Structure: Begin your inspection by checking the foundation and structure of your home. Look for any cracks, signs of settling, or visible damage. These can be early indicators of future structural problems.
- Roof and Gutters: Next, ensure the roof is in good condition. Check for missing or damaged shingles, and make sure the gutters are free of blockages that could lead to drainage issues.
- Driveways and Walkways: Walk around the exterior of your home, inspecting driveways and walkways for cracks, uneven surfaces, and proper drainage. These areas should be safe and free of tripping hazards.
- Landscaping: Take note of the landscaping. The grass, plants, and other greenery should be healthy and well-maintained.
- Irrigation System: Test the irrigation system to ensure the sprinklers are working properly and are positioned to water the intended areas without causing damage to the home or landscaping.
- Hose Spigots: Turn on all exterior hose spigots to check water flow and pressure. This is an easy way to detect potential plumbing issues outside the home.
- Garage: Finally, check the garage. Ensure that the garage doors operate smoothly, the sensors are correctly installed, and the seals are in place to keep out water and pests.
Interior Rooms
- Walls, Ceilings, and Floors: Inside, start by inspecting the walls, ceilings, and floors. Look for any damage, such as cracks, water stains, or uneven surfaces. Pay attention to the finish quality, ensuring smooth caulking and that carpet is properly secured. The floor should be level without noticeable dips or bumps.
- Lighting and Electrical Outlets: Test every light switch and electrical outlet. All should be functioning correctly, with no flickering or non-working outlets.
- Doors and Windows: Open and close all doors and windows to ensure they operate smoothly. Check for drafts around the seals, which can indicate improper installation or the need for adjustments.
- HVAC System: Finally, test the HVAC system by turning on the heating, ventilation, and air conditioning. Ensure that each system operates efficiently, and that the temperature control is responsive.
Kitchen and Bathrooms
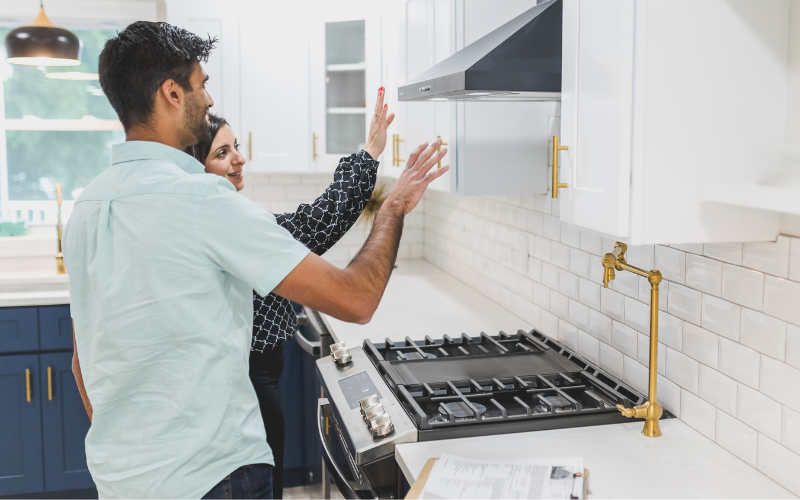
- Appliances: In the kitchen, test all appliances, including the stove, oven, refrigerator, dishwasher, and microwave. They should be fully operational without any strange noises or delays.
- Cabinets and Countertops: Open and close all cabinet doors and drawers to ensure they function properly. Inspect the countertops for any scratches or imperfections in the finish.
- Plumbing Fixtures: Turn on every faucet, flush every toilet, and check under sinks for leaks. Water flow should be strong, and there should be no signs of moisture where it shouldn’t be.
- Ventilation: Test all exhaust fans in the kitchen and bathrooms. They should vent properly to the outside of the home, preventing moisture buildup and maintaining air quality.
Utilities and Mechanical Systems
- Water Heater: Make sure the water heater is functioning correctly and is set to your desired temperature. This is crucial for comfort and safety.
- Electrical Panel: The electrical panel should be properly labeled, with all circuit breakers accessible and working as intended.
- Plumbing System: Check for leaks throughout the plumbing system. Turn on taps in various rooms simultaneously to test water pressure and make sure there are no drops in pressure.
- Smoke and Carbon Monoxide Detectors: Test every smoke and carbon monoxide detector in the home. They should all be in working order and located in appropriate areas.
- Doorbell: Lastly, ensure the doorbell is properly installed and working. It may seem minor, but it’s important for security and convenience.
The Brighton New Home Orientation
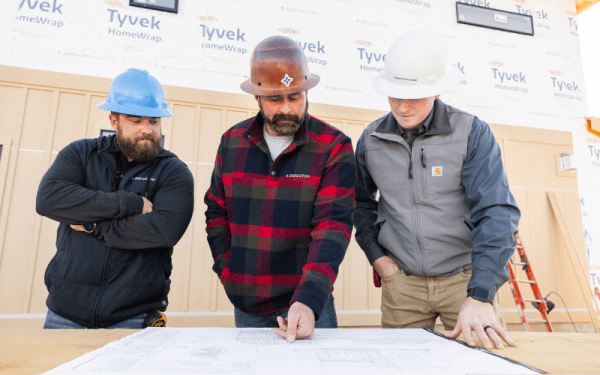
When you buy a newly constructed home from Brighton, this final walkthrough process is called a New Home Orientation. Before you step foot into your new home for this meeting, you can rest assured your Superintendent has conducted their own thorough inspection. During the orientation, your Superintendent will show you key features of your new home, answer any questions, plus, a member of the Brighton warranty department will also be in attendance so they can work together to coordinate any repairs or resolve any issues that may have come up during this walkthrough.
For those who don’t have this kind support from their builder team, and especially those buying older homes who won’t have an official walkthrough, we’ve provided a checklist below you can use as a guide.
Conclusion
A thorough walkthrough is an essential step in the home buying process. By addressing any issues found during this inspection, you can ensure that your new home meets your expectations and is ready for move-in. Take your time, be thorough, and use this checklist to guide you through the process. Your dream home is within reach—make sure it’s perfect before you sign on the dotted line.
Categorized in: HOME CARE TIPS
This post was written by Brighton Homes







 © 2025 Brighton | All Rights Reserved. |